Free Printable String Art Patterns with Instructions – Are you looking for a fun and creative way to add some flair to your home decor? Look no further than DIY string art patterns! String art has been around for decades, but it’s making a comeback as a trendy and unique way to spruce up any space. With just a few simple materials and a little bit of patience, you can create stunning pieces of art that will impress your friends and family.
Stringing Together Creativity: DIY String Art Patterns
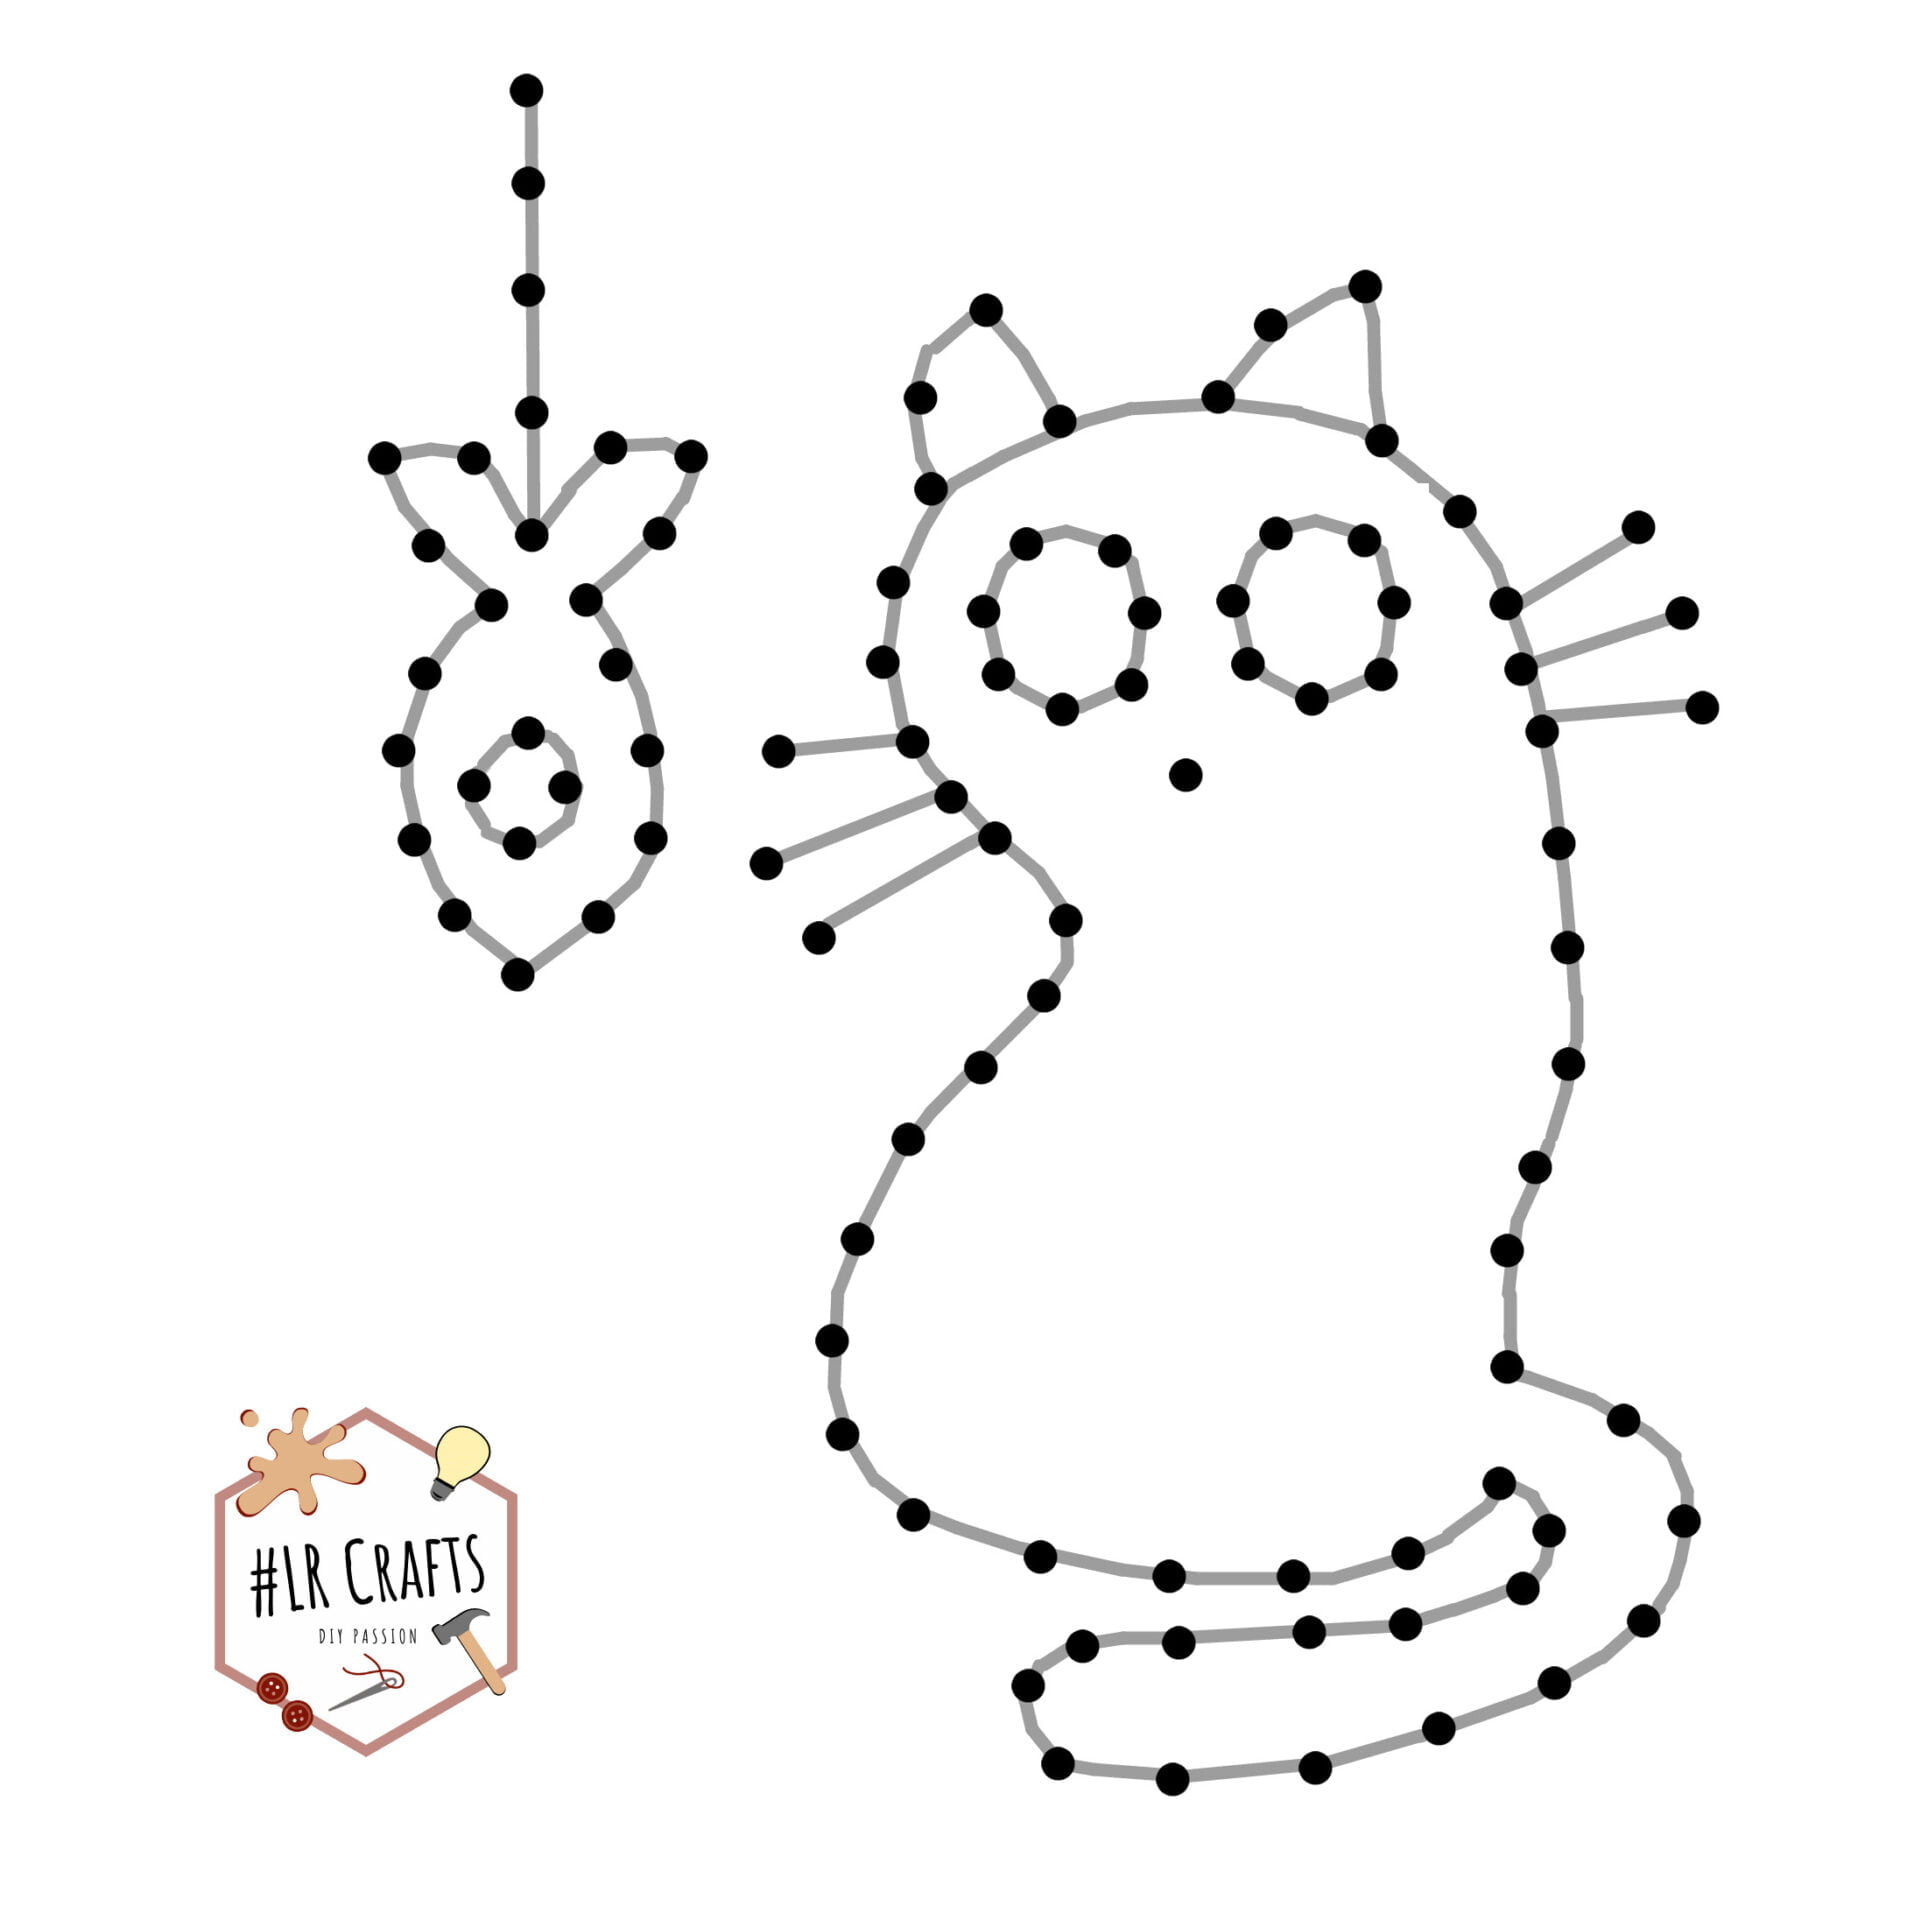
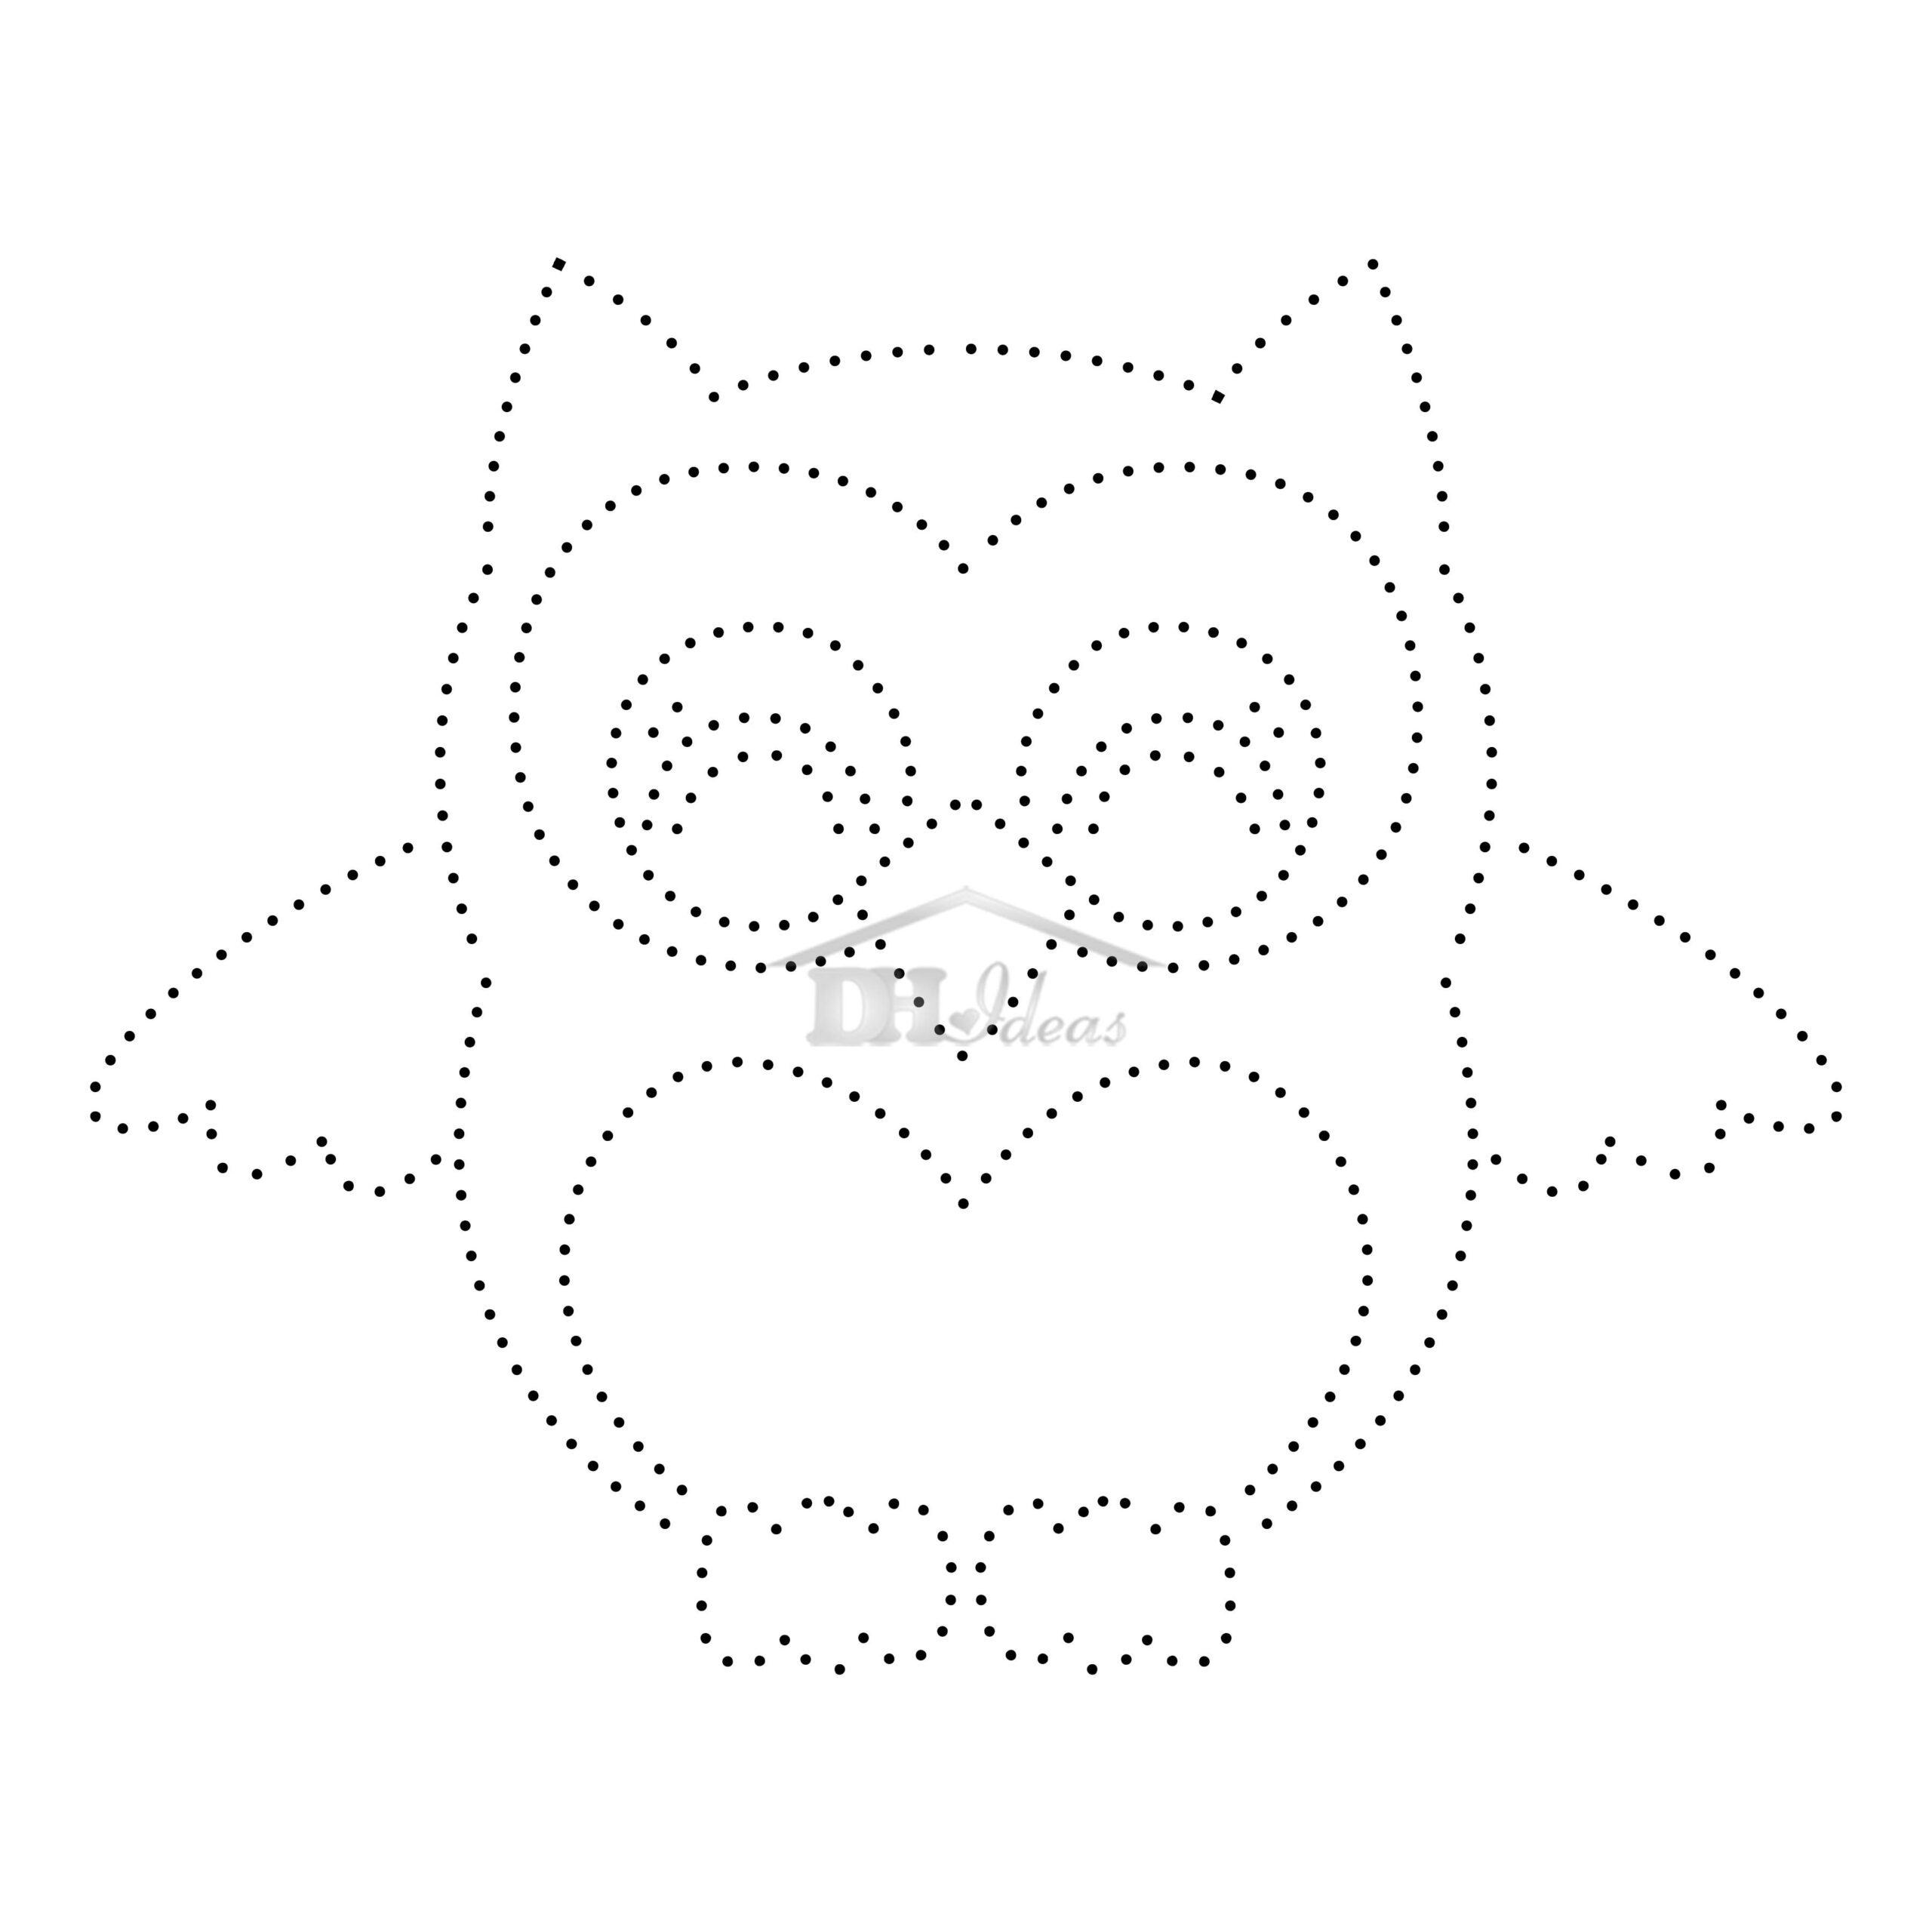
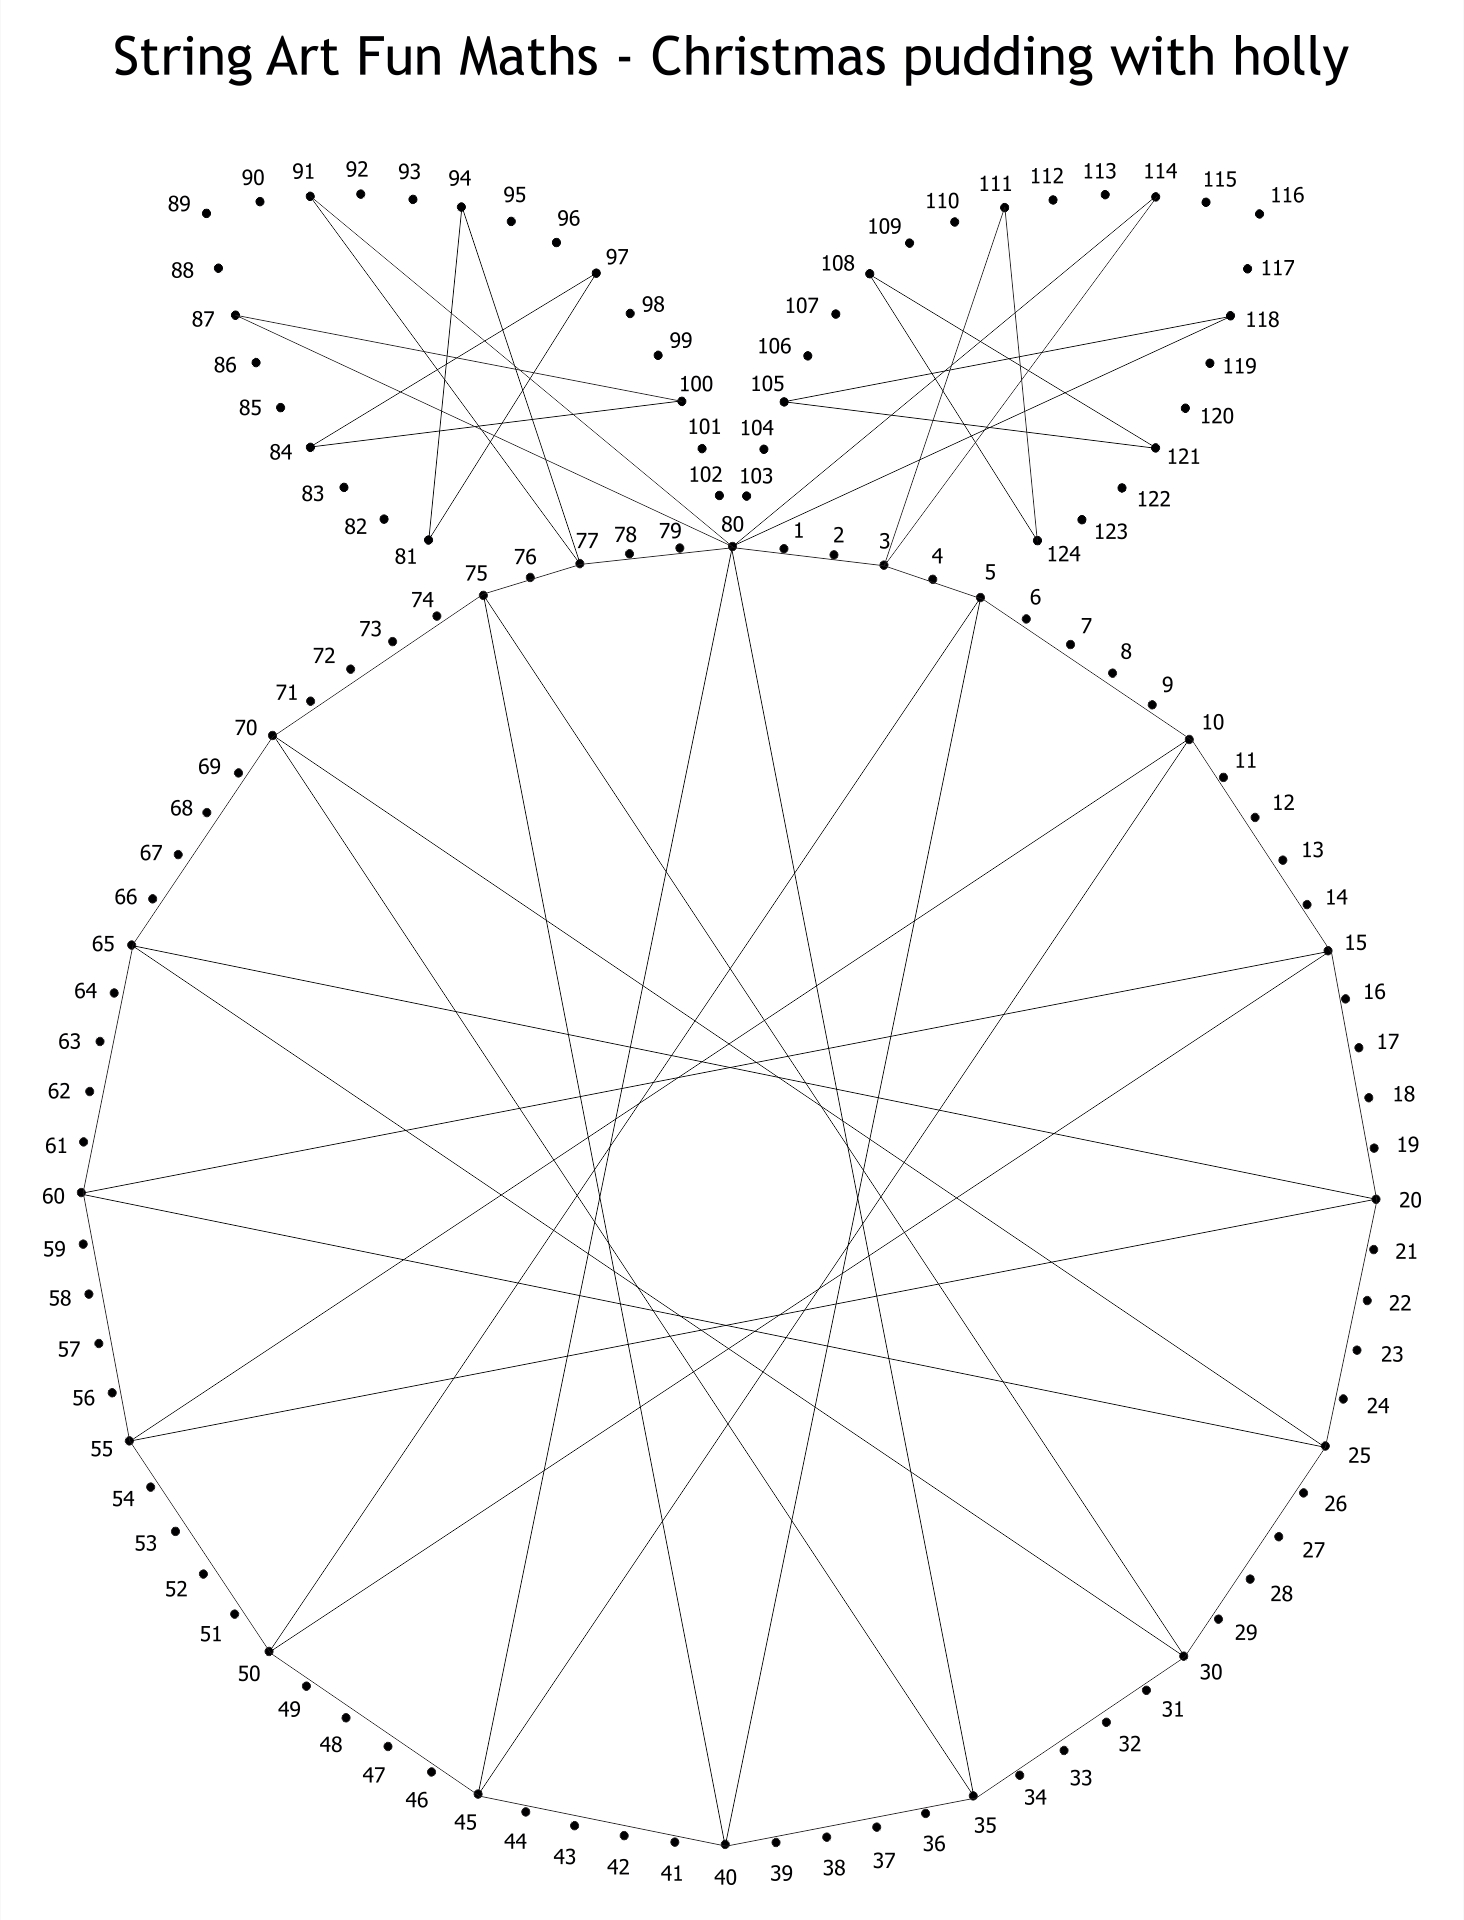
There are endless possibilities when it comes to string art patterns. From geometric shapes and intricate designs to whimsical animals and inspirational quotes, the options are truly limitless. Whether you’re a beginner or a seasoned crafter, there’s a string art pattern out there for you. So grab some nails, a hammer, colorful string, and let your creativity run wild.
If you’re not sure where to start, there are plenty of online resources and tutorials to help you get inspired. Pinterest is a treasure trove of string art patterns, with endless ideas to spark your creativity. You can also purchase string art kits that come with everything you need to get started. So pick a pattern that speaks to you, gather your supplies, and get ready to create a one-of-a-kind masterpiece that will add a pop of color and personality to any room.
Let’s Get Crafty: Step-By-Step String Art How-To’s
Now that you’ve chosen your string art pattern, it’s time to get crafty! Here’s a step-by-step guide to creating your own string art masterpiece:
1. Gather your materials: You’ll need a piece of wood, nails, a hammer, colorful string, and a printed copy of your chosen pattern. Make sure your wood is sturdy enough to hold the nails and string.
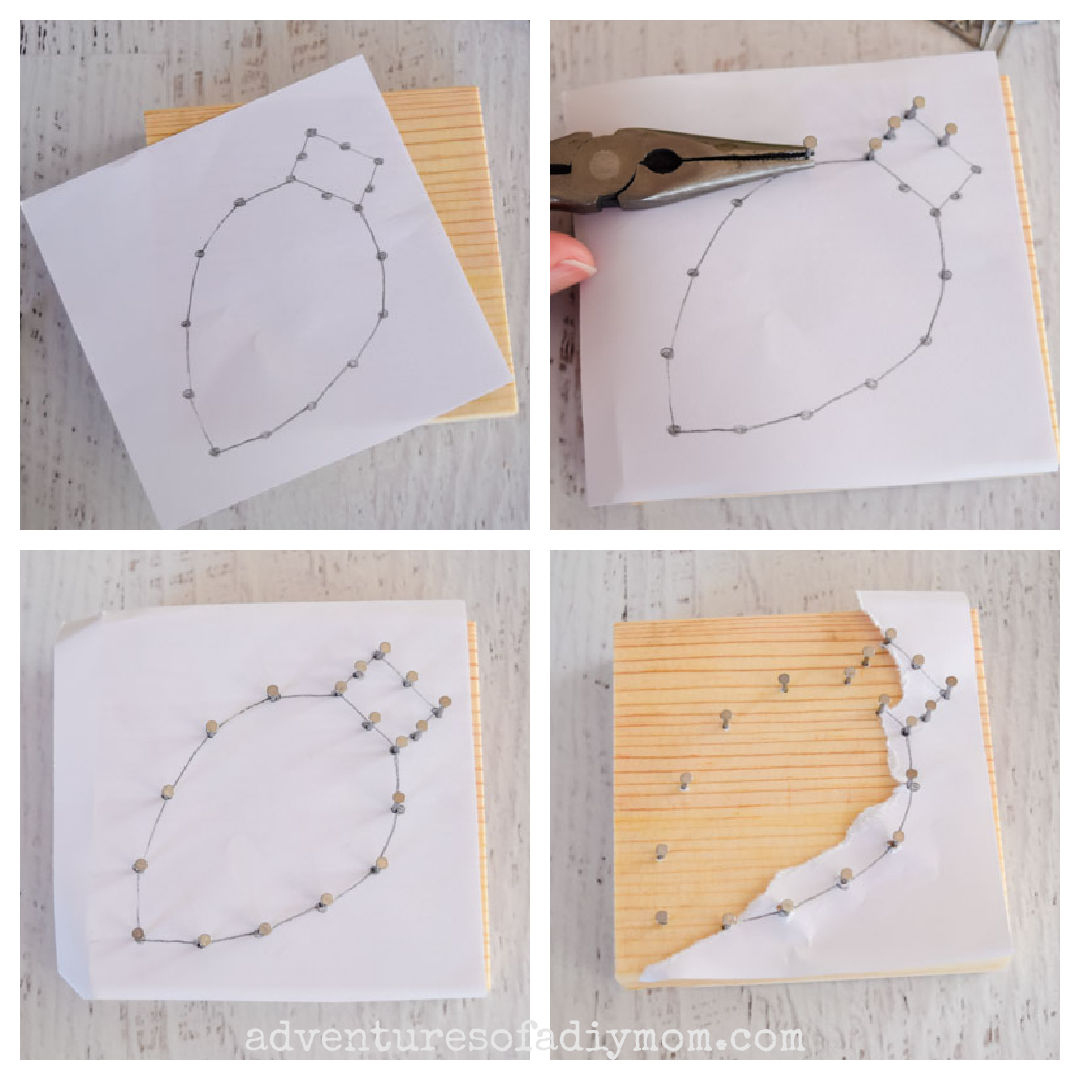
2. Prep your wood: Sand down any rough edges on your wood and paint or stain it if desired. Once your wood is prepped and dry, place your pattern on top and secure it with tape.
3. Hammer in the nails: Using your pattern as a guide, hammer nails into the wood along the outline of your design. Make sure to space them evenly and hammer them in securely.
4. String it up: Once all your nails are in place, tie a knot at one end of your string and start weaving it around the nails. Get creative with your string placement, crisscrossing and looping it to create a unique design.
5. Finishing touches: Once you’re happy with your design, tie off the string and trim any excess. Hang your string art masterpiece on the wall and admire your handiwork!
DIY string art patterns are a fun and creative way to add a personal touch to your home decor. With endless possibilities for designs and easy-to-follow tutorials, anyone can create a stunning piece of art with just a few simple materials. So grab your hammer and string, get crafty, and let your creativity shine!
Free Printable String Art Patterns with Instructions
Related Free Printables..
Image Disclaimer: All images displayed on this platform are obtained from third-party sources such as Google, Bing, Yahoo, and DuckDuckGo. If you hold the copyright to any image and would like it removed, please provide us with the image URL. We will verify the request and take appropriate action.